Crafting Giant Foam Flowers: Your Ultimate DIY Guide


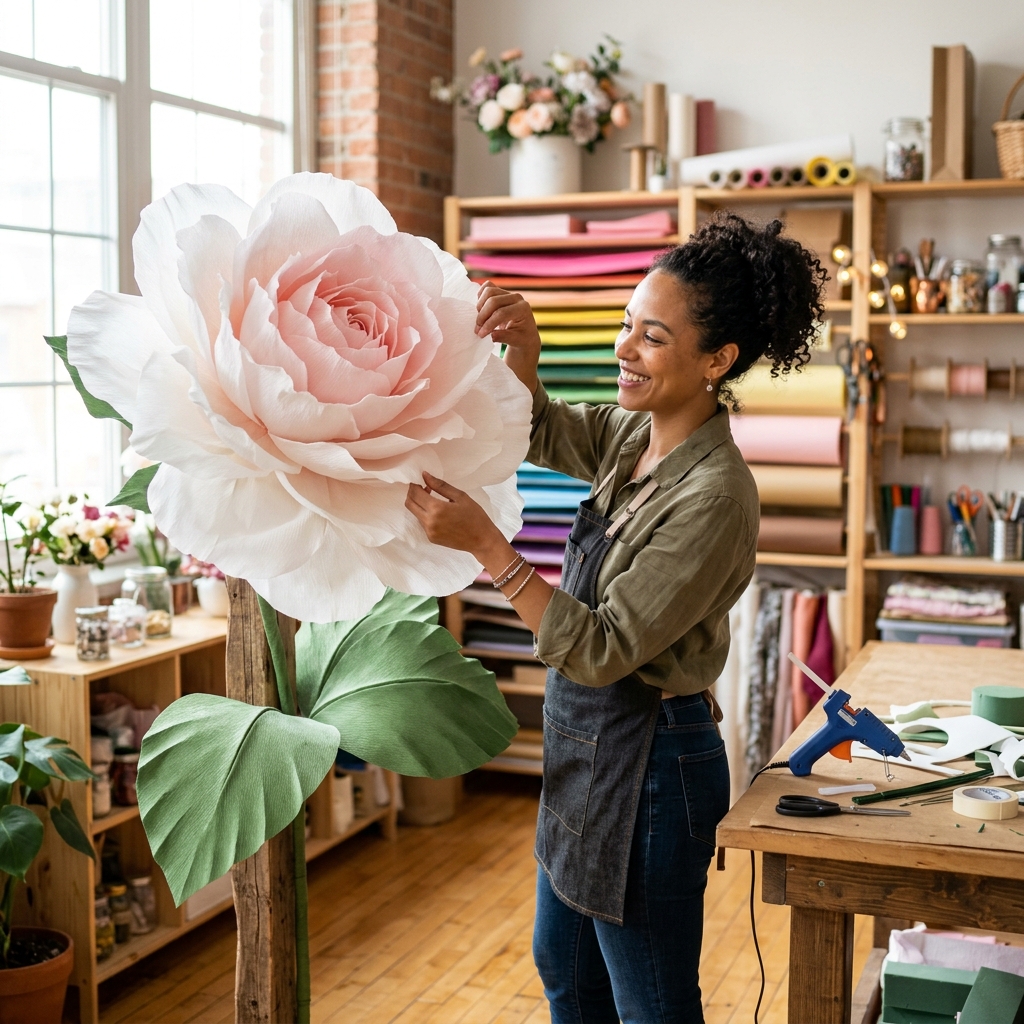
How to Make Giant Foam Flowers: Your Ultimate Guide to Blooming Beauty
Imagine walking into a room adorned with colossal, breathtaking blooms, each petal perfectly sculpted, radiating an almost magical charm. These aren’t fantasy creations; they’re giant foam flowers, and they’ve become the darling of event decorators, photographers, and creative enthusiasts worldwide. From whimsical wedding backdrops to eye-catching retail displays and unforgettable photo opportunities, the allure of these oversized blossoms is undeniable. If you’ve ever dreamt of bringing such grandeur to life with your own hands, you’re in the right place. This comprehensive guide will walk you through every step of making spectacular giant foam flowers, transforming simple sheets of EVA foam into works of art.
Why Choose Foam for Your Giant Blooms?
Before we dive into the creative process, let’s understand why EVA foam is the material of choice for crafting these magnificent floral masterpieces:
- Lightweight: Despite their size, foam flowers are surprisingly light, making them easy to transport, hang, or mount without heavy-duty support.
- Durable & Flexible: EVA foam is resilient, water-resistant, and won’t wilt or tear easily, ensuring your creations last for countless events. Its flexibility also allows for intricate shaping.
- Heat-Formable: This is the magic secret! EVA foam softens with heat, allowing you to sculpt and mold petals into realistic, organic curves and forms.
- Cost-Effective: Compared to other large-scale decor options, EVA foam is relatively inexpensive, making it accessible for DIY projects on any budget.
- Vibrant Colors: Available in a vast array of colors, foam can also be painted to achieve custom hues and gradients.
Gathering Your Creative Arsenal: Materials and Tools
Embarking on your giant foam flower journey requires a few essential supplies. Think of these as your artist’s palette and tools:
- EVA Foam Sheets: The star of the show. Available in various thicknesses (1mm, 2mm, 3mm, 5mm, 10mm). Thinner foam is ideal for delicate petals, while thicker foam provides structure for bases and larger elements. You can find this at craft stores or online.
- Heat Gun: Absolutely crucial for shaping the foam. A standard heat gun used for stripping paint works perfectly.
- Sharp Scissors or Craft Knife (e.g., X-Acto): For precise cutting of your foam petals. A self-healing cutting mat is recommended if using a knife.
- Glue:
- Hot Glue Gun & Sticks: Fast-drying and strong, excellent for quick assembly.
- Contact Cement or Super Glue: For more permanent, heavy-duty bonds, especially on larger structures or attaching stems.
- Templates: You can find free templates online, purchase them from designers, or create your own by sketching petal shapes. Start with simple shapes if you’re a beginner.
- Pencil or Marker: For tracing your templates onto the foam.
- Wire (Optional): Floral wire for reinforcing petals or creating stems; thicker gauge wire or PVC pipe for robust, standalone stems.
- Paint (Optional): Acrylic craft paints or spray paints to add depth, shading, or custom colors. A sealant may be needed for outdoor display.
- Measuring Tape/Ruler: For accuracy.
- Gloves: Heat-resistant gloves are useful when working with a heat gun for extended periods.
The Blooming Process: Step-by-Step Giant Foam Flower Creation
Step 1: Design and Template Selection
First, decide what kind of giant flower you want to create (e.g., rose, peony, daisy, lotus). For your first project, consider a flower with simpler, repetitive petal shapes. Find or create templates for your petals, calyx (the green part beneath the petals), and leaves. For a giant flower, you’ll need multiple sizes of petals, gradually increasing in size from the center outwards. Print or draw your templates, then cut them out from cardstock or thick paper.
Step 2: Cutting Your Petals
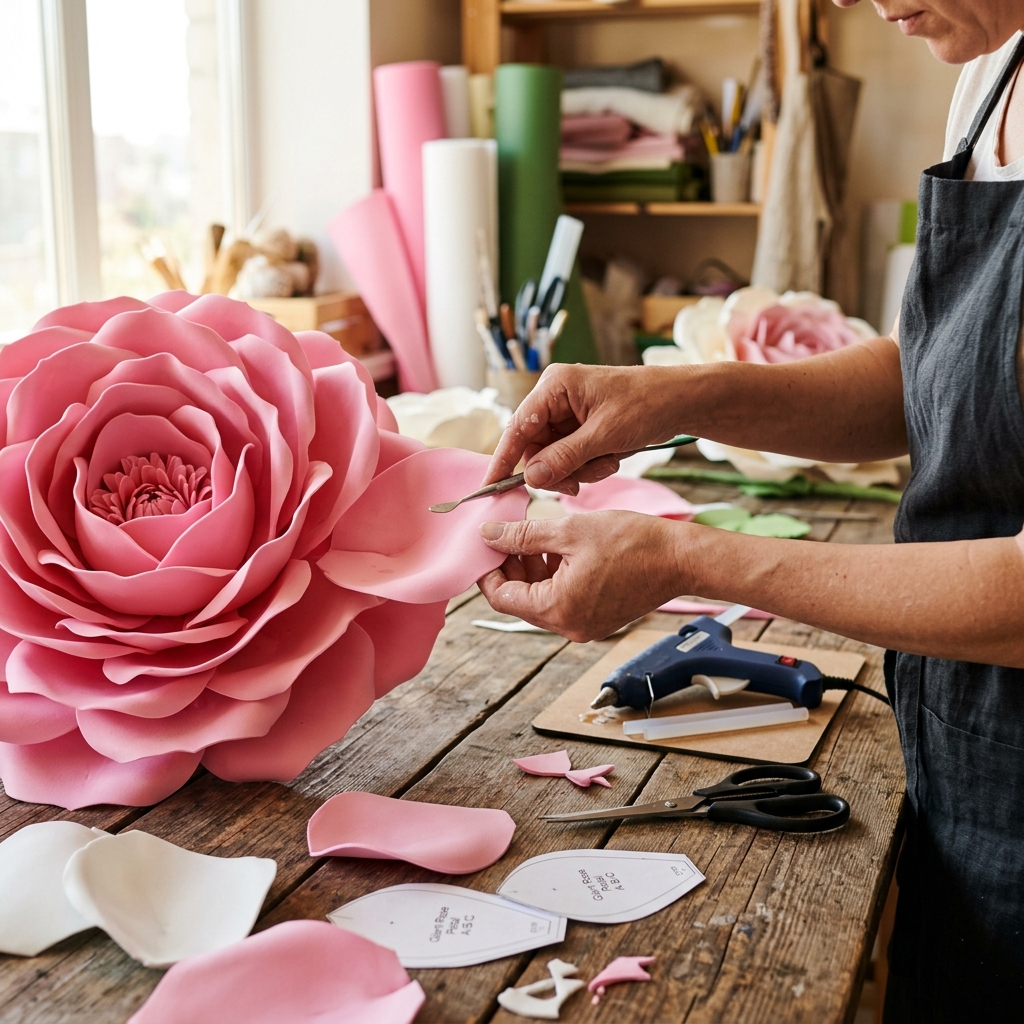
Lay your EVA foam sheets flat. Place your templates onto the foam, tracing carefully with a pencil or marker. Remember, you’ll need many petals of each size – typically 6-10 for smaller petals, increasing to 10-20 or more for larger ones, depending on the flower’s fullness. Use your sharp scissors or craft knife to cut out each petal. Precision here will contribute to a cleaner final look.
Step 3: The Magic of Shaping with Heat
This is where your foam petals truly come alive! Plug in your heat gun and allow it to warm up. Hold a foam petal a few inches away from the nozzle, moving the heat gun constantly to prevent burning or excessive melting in one spot. As the foam heats, it will become pliable. Gently stretch, curl, cup, or ruffle the edges of the petal to mimic natural flower forms. For a classic rose curl, heat the top edge and roll it inwards. For a peony’s cupped shape, heat the center and gently press downwards. Experiment with different techniques until you achieve the desired organic shape. Always exercise caution when using a heat gun; the foam gets hot!
Step 4: Assembling the Flower Core
Start with your smallest, innermost petals. Apply a dot of hot glue to the base of each petal and begin attaching them around a small foam disc or a rolled piece of foam, forming the tight center of your flower. Work in layers, ensuring each petal slightly overlaps the previous one, creating a spiral or circular arrangement.
Step 5: Building Outwards: Layering Petals for Fullness
Once your core is established, gradually move to your medium-sized petals, then your largest ones. Continue to glue them in overlapping layers around the core. Pay attention to the spacing and angle of each petal to create a natural, voluminous look. Some petals might be glued higher, some lower, to add depth. Don’t be afraid to step back and assess your progress, adjusting as needed.
Step 6: Crafting the Calyx and Leaves
Cut out your calyx pieces (usually 3-5 green leaf-like shapes) and leaves from green EVA foam. Use the heat gun to give them a slight curl or vein texture. Attach the calyx pieces to the underside of your completed flower head, directly beneath the largest petals. Then, attach the leaves to a wire or directly to your stem.
Step 7: Constructing the Stem (Optional but Recommended)
For standalone giant flowers, a sturdy stem is essential. You can use a thick gauge floral wire, a wooden dowel, or even a PVC pipe for truly massive flowers. Wrap the chosen material with a strip of green EVA foam or floral tape to create a seamless look. Securely attach the flower head to the stem using a generous amount of hot glue, contact cement, or by inserting the stem into a hole cut into the flower’s base.
Step 8: Painting and Finishing Touches
While foam comes in many colors, painting can elevate your giant flower to the next level. Use acrylic paints to add subtle gradients, shadows, or highlights to the petals. For instance, a touch of darker pink at the petal bases or a lighter shade on the tips can create a stunning, realistic effect. Spray paints also work well for uniform color. If your flower will be outdoors, consider a protective sealant spray to prevent fading and protect against elements.
Expert Tips for Giant Foam Flower Success
- Practice Makes Perfect: Don’t be discouraged if your first few petals aren’t perfect. Practice shaping with the heat gun on scrap pieces of foam.
- Vary Your Petal Shapes: Even for the same flower type, subtle variations in petal size and shape (within the same tier) add to a more organic, natural appearance.
- Observe Real Flowers: Study actual flowers to understand how their petals overlap, curve, and vary in size and color. This will inform your design choices.
- Safety First: Always work in a well-ventilated area when using a heat gun and glues. Be mindful of hot surfaces.
- Layering for Depth: The secret to a lush flower lies in generous layering. Don’t skimp on petals!
- Consider the “Back”: Even if your flower is front-facing, finish the back cleanly, especially if it might be seen from multiple angles.
Unleash Your Creativity
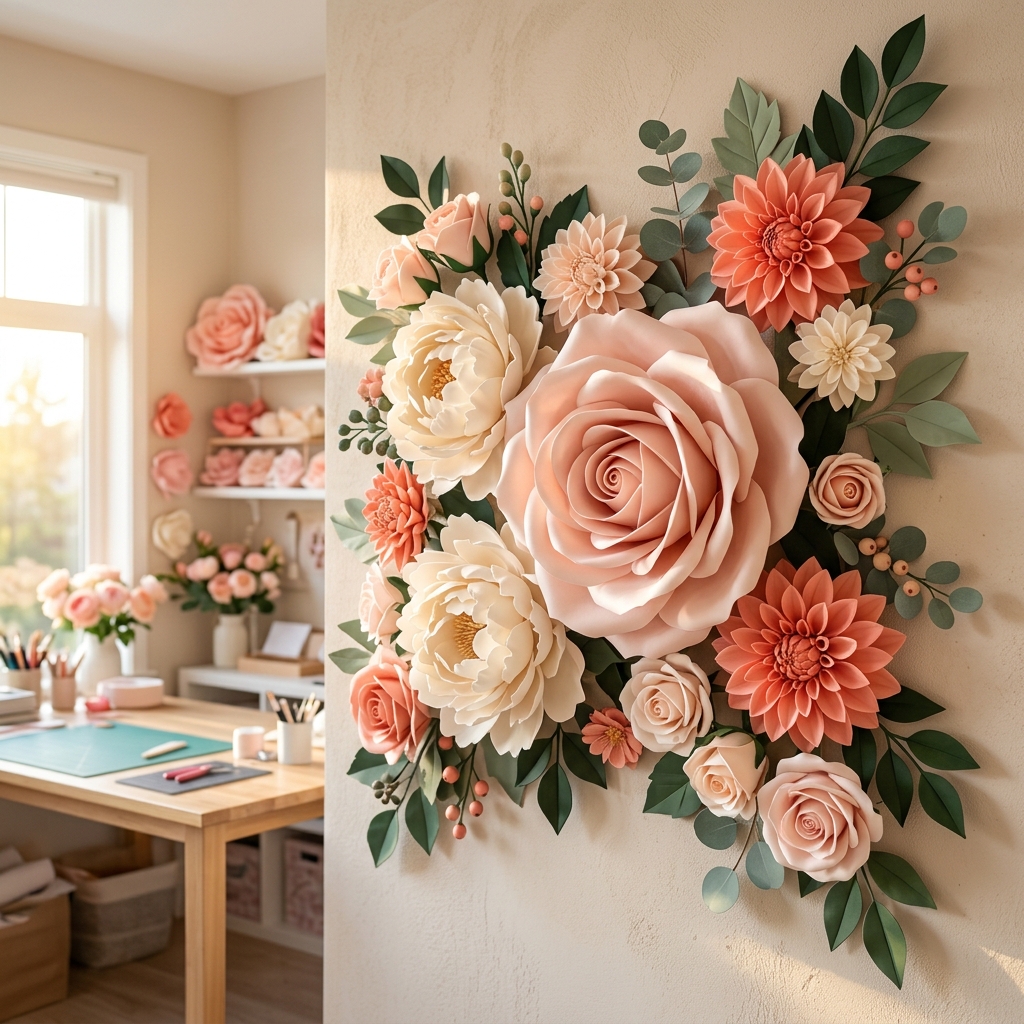
Giant foam flowers are more than just crafts; they are statements. They transform ordinary spaces into extraordinary realms, capture imaginations, and create lasting memories. With the techniques and tips shared in this guide, you now have everything you need to embark on your own journey of creating these magnificent blooms. So gather your materials, ignite your creativity, and watch as your vision blossoms into spectacular reality. Happy crafting!
Frequently Asked Questions (FAQ)
Q1: What thickness of EVA foam is best for giant flowers?
A1: It depends on the part of the flower. For delicate, realistic petals, 1mm or 2mm foam is ideal. For larger, more structured petals or the base of the flower, 3mm or 5mm foam can provide more stability. For rigid stems or structural elements, 10mm foam or even PVC pipe covered with foam is recommended.
Q2: Can I paint my giant foam flowers, and what type of paint should I use?
A2: Yes, absolutely! Painting adds depth and realism. Acrylic craft paints work very well and can be easily blended. Spray paints are great for uniform base colors or subtle shading. For outdoor use, consider a UV-resistant acrylic paint and a clear sealant spray to protect against fading and weather.
Q3: How do I store giant foam flowers without damaging them?
A3: Store them in a cool, dry place away from direct sunlight, which can cause foam to degrade or colors to fade over time. If possible, keep them in large boxes or upright in sturdy containers. For very large flowers, you might need to detach the flower head from the stem for easier storage and transport, then reassemble when needed. Avoid stacking heavy items on top of them to prevent crushing petals.
📚 Related Giant Flower Guides
- Read Next: Learn more about Giant Paper Flower Templates Pdf in our detailed guide on Giant Paper Flower Templates PDF: Craft Stunning Blooms.
- Read Next: Learn more about Best Glue Giant Flowers in our detailed guide on Blooming Strong: The Ultimate Guide to Best Glue for Giant Flowers.