Craft Stunning Giant Foam Flowers: A Complete DIY Guide
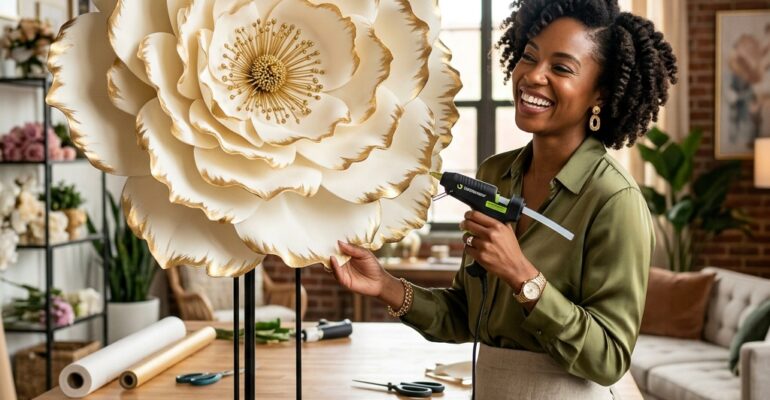


Crafting Grandeur: Your Ultimate Guide to Making Giant Foam Flowers
Imagine walking into a space adorned with blooms so magnificent, they seem plucked from a fairytale. Giant flowers have taken the decor world by storm, transforming ordinary venues into breathtaking spectacles. While real oversized flora is impossible, the magic of crafting allows us to create stunning, durable, and infinitely customizable alternatives: giant foam flowers.
Whether you’re an event planner seeking a show-stopping backdrop, a DIY enthusiast looking for a unique home decor project, or a photographer needing whimsical props, mastering the art of giant foam flower creation opens up a world of creative possibilities. These magnificent blossoms are not only visually impactful but also surprisingly robust, making them ideal for both indoor and outdoor settings. This comprehensive guide will walk you through every step, from selecting your materials to perfecting your petals, ensuring you can bring your grand floral visions to life.
The Allure of Foam: Why Choose This Material?
When it comes to crafting large-scale flowers, EVA foam stands out as the material of choice for several compelling reasons:
- Durability and Longevity: Unlike paper or fabric, EVA foam is remarkably sturdy. It resists tearing, creasing, and holds its shape beautifully over time, meaning your creations can be enjoyed for multiple events or seasons.
- Weather Resistance: Many types of foam, especially closed-cell EVA, are water-resistant. This makes your giant foam flowers suitable for outdoor use, enduring dew, light rain, or humidity without wilting or degrading.
- Lightweight and Portable: Despite their impressive size, foam flowers are incredibly light. This makes them easy to transport, hang, or position without requiring heavy-duty rigging.
- Cost-Effective: Compared to sourcing an abundance of real flowers for large installations, EVA foam is a budget-friendly option that delivers maximum visual impact for a fraction of the cost.
- Versatility in Shaping and Coloring: Foam can be easily cut, shaped with heat, and painted, allowing for intricate details and a wide spectrum of vibrant colors or subtle pastels to match any theme.
- Safety: Foam is non-toxic and generally safe to work with, making it a great material for crafters of all skill levels.
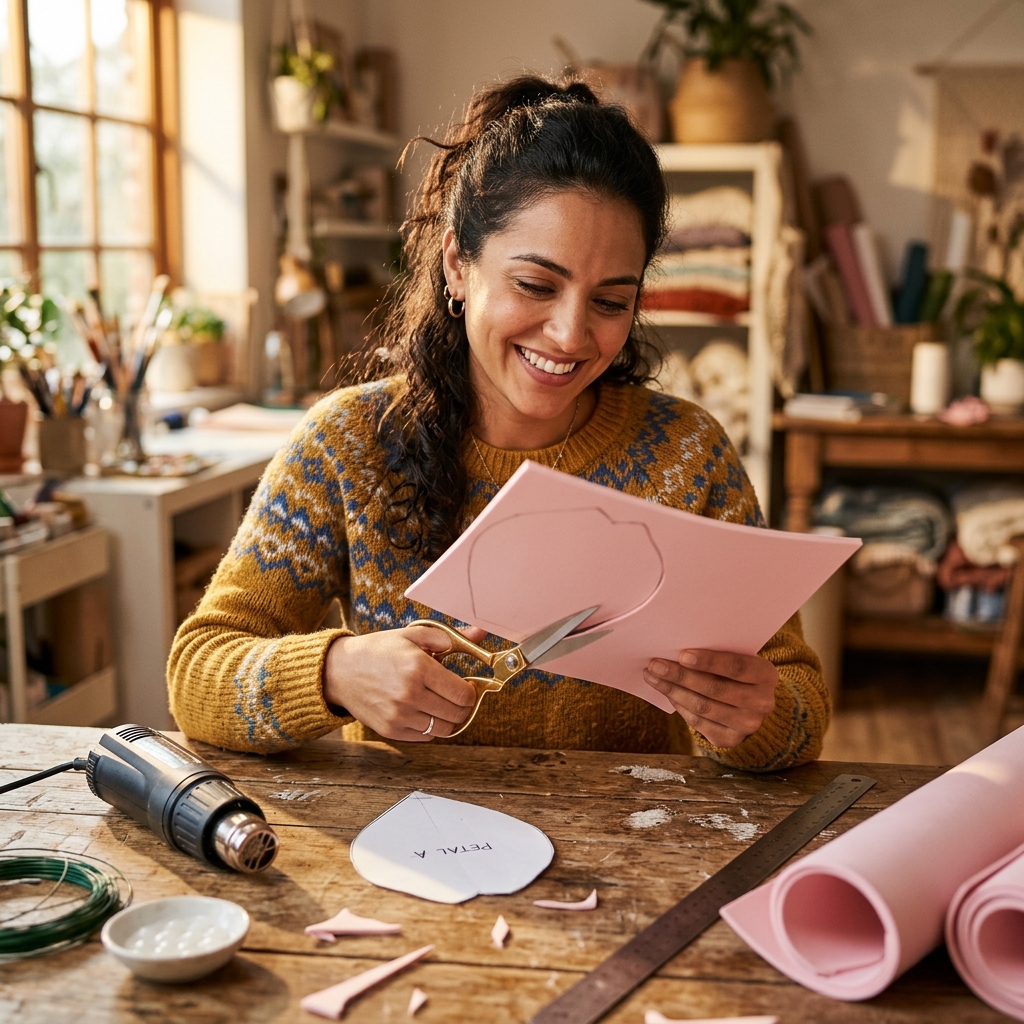
Gathering Your Creative Arsenal: Essential Materials
Before you embark on your floral adventure, ensure you have these key tools and materials ready:
- EVA Foam Sheets: Available in various thicknesses (1mm to 10mm are common, 2mm-5mm is ideal for petals). Choose colors that complement your desired flower or opt for white/cream if you plan to paint them.
- Heat Gun (or strong hair dryer): Absolutely essential for shaping and curving foam petals.
- Sharp Scissors or Craft Knife (with cutting mat): For precise cutting of your foam.
- Templates: Printed or hand-drawn petal and leaf templates. You’ll need several sizes for each flower type.
- Hot Glue Gun and Glue Sticks: Your primary adhesive for assembling the flower. Opt for a good quality hot glue gun for consistent heat.
- Pencil or Marker: For tracing templates onto foam.
- Floral Wire or PVC Pipe/Wooden Dowel (for stems): Depending on the size and desired rigidity of your stem.
- Wire Cutters (if using wire for stems).
- Acrylic Paints or Spray Paint (optional): For adding detail, shading, or altering foam color.
- Glitter, Rhinestones, or Beads (optional): For embellishing the flower center or petals.
- Measuring Tape or Ruler: For accurate sizing.
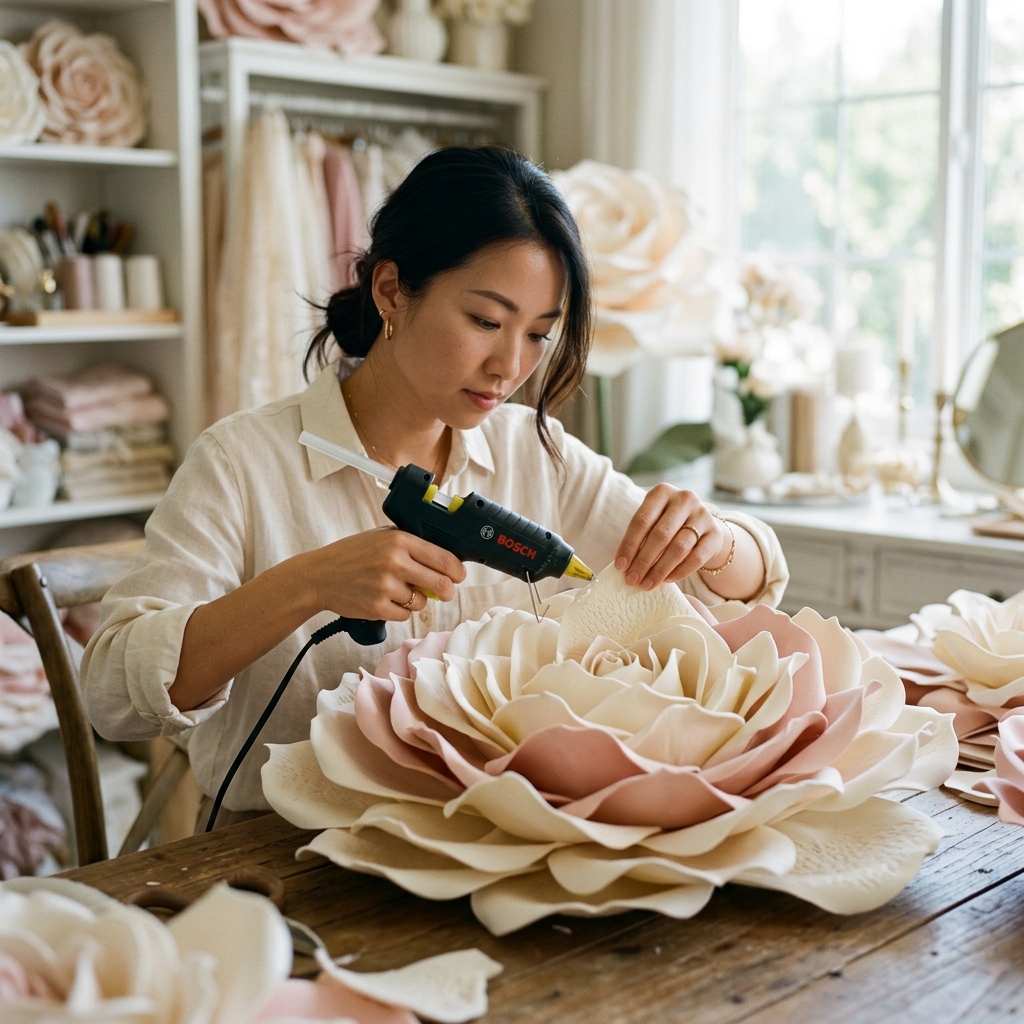
Step-by-Step Blossom: How to Make Your Giant Foam Flower
Let’s dive into the fascinating process of transforming flat foam sheets into magnificent blooms.
Step 1: Design and Templates
First, decide on the type of flower you want to create (e.g., rose, peony, poppy). Search online for petal templates or sketch your own. You’ll need 3-5 different sizes of petals, increasing incrementally. For a realistic look, ensure the petal shapes are varied, mimicking natural growth. You’ll also need templates for leaves and a calyx (the green base holding the petals).
Step 2: Cutting the Petals
Trace your templates onto the EVA foam sheets using a pencil or marker. For cleaner cuts, use a sharp craft knife on a cutting mat. Cut out numerous petals of each size – you’ll need more of the smaller petals for the center and progressively fewer as you move to the larger outer layers. The quantity depends on your desired fullness.
Step 3: Shaping with Heat
This is where the magic happens! Turn on your heat gun to a medium setting. Gently warm each foam petal, moving the heat gun continuously to avoid scorching. As the foam softens, carefully stretch and cup the edges or the base of the petal with your fingers. For a rose, you might gently curl the top edges outwards. For a peony, you might cup the entire petal to give it a soft, rounded appearance. Experiment to achieve natural-looking curves and textures. Always work in a well-ventilated area and exercise caution with the heat gun.
Step 4: Assembling the Core
Begin with your smallest petals. Take one petal and roll it tightly into a cone or cylinder shape, securing the base with hot glue. This forms the very center of your flower. Then, take another small petal, apply hot glue to its base, and attach it around the first, slightly overlapping. Continue this process, building concentric layers of small petals around the central bud, ensuring each layer is securely glued.
Step 5: Building Layers
Once the core is established, gradually transition to the next size of petals. Continue to attach them around the growing flower, overlapping and staggering them to create a natural, full appearance. Apply glue generously at the base of each petal where it meets the flower’s body, ensuring a strong bond. As you move to larger petals, you’ll be adding more volume and width to your bloom.
Step 6: Creating the Calyx and Leaves
Cut out your calyx template from green EVA foam. Shape it slightly with heat if desired to give it a natural curve. Hot glue this piece to the very bottom of your completed flower, covering the bases of all the petals and providing a neat finish. For leaves, cut them from green foam, shape with heat (e.g., creating a central vein), and attach them to a floral wire stem or directly to the calyx if the flower is not freestanding.
Step 7: Stem Construction (Optional but Recommended)
If your giant flower needs a stem for freestanding display or holding, consider using PVC pipe, a thick wooden dowel, or a sturdy floral wire. Insert one end into the base of the flower (through the calyx) and secure it with plenty of hot glue. For extra stability, you might create a small foam “plug” to fit snugly around the stem inside the flower’s base before gluing.
Step 8: Finishing Touches
Stand back and admire your creation! This is the time to add any optional embellishments. Use acrylic paints to add subtle shading, create realistic veins on petals or leaves, or highlight edges. Attach glitter, rhinestones, or beads to the flower’s center for extra sparkle. Check for any loose petals and re-glue them. Your magnificent giant foam flower is now complete!
Expert Tips for Flawless Foam Blooms
- Practice Makes Perfect: If you’re new to shaping foam, start with a few scrap pieces or smaller petals to get a feel for the heat gun and how the foam reacts.
- Safety First: Always use your heat gun in a well-ventilated area. Keep it moving to prevent foam from melting or burning, and avoid touching the hot nozzle.
- Layering Wisdom: When attaching petals, think about natural flower growth. Stagger your petals, ensuring they overlap and complement each other rather than lining up perfectly. This creates depth and realism.
- Color Considerations: For a monochromatic flower, use foam of one color. For multi-tonal effects, use slightly different shades of foam or add subtle paint washes.
- Adhesive Control: Use hot glue sparingly but effectively. Too much glue can make the flower look messy; too little will result in weak bonds. Ensure glue is hot enough for a strong, quick set.
- Storage and Care: Store your giant foam flowers in a cool, dry place, away from direct prolonged sunlight to prevent fading. Dust them gently with a soft cloth or a feather duster.
- Customization is Key: Don’t be afraid to experiment with different flower types, petal shapes, and embellishments. Add unique textures by gently pressing textured objects into heated foam.
Where Will Your Giant Blooms Flourish?
The applications for giant foam flowers are as boundless as your imagination:
- Event Backdrops: Create stunning focal points for weddings, birthdays, baby showers, and corporate events.
- Retail and Window Displays: Attract attention and create seasonal themes for businesses.
- Photography Props: Add a whimsical, larger-than-life element to photoshoots.
- Home and Garden Decor: Brighten up a living room, entryway, or covered patio with a permanent, vibrant bloom.
- Theater and Stage Sets: Enhance theatrical productions with oversized floral elements.
- Festival and Parade Decor: Make a bold statement with durable, eye-catching floral installations.
Crafting giant foam flowers is a rewarding process that combines artistry with practicality. With a little patience, the right tools, and the techniques outlined above, you can create breathtaking botanical masterpieces that will leave a lasting impression. Dive in, unleash your creativity, and watch your magnificent foam flowers bloom!
Frequently Asked Questions (FAQ)
What type of foam is best for making giant flowers?
The best foam is EVA foam (Ethylene-vinyl acetate). It’s flexible, durable, holds shape well when heated, and is available in various thicknesses. For petals, 2mm to 5mm thickness is generally recommended, with thicker foam used for structural elements or larger flowers.
How do I make my giant foam flowers stand upright or attach them to a wall?
For freestanding flowers, a sturdy stem made from PVC pipe or a thick wooden dowel is essential, anchored firmly into a base like a painted bucket filled with concrete or plaster. For wall attachment, you can glue a hanging hook or a small loop of fishing line to the back of the flower’s calyx, or use strong adhesive strips for temporary placement.
Can I use regular craft foam instead of EVA foam for giant flowers?
While some craft foams are technically EVA foam, ensure it’s the right density and thickness. Thin, flimsy craft foam sheets often sold in children’s craft sections won’t hold their shape well after heating and shaping, and may not be durable enough for giant flower projects. Look for foam specified as EVA foam or ‘cosplay foam’ for best results.
How do I store my giant foam flowers to keep them in good condition?
Store your giant foam flowers in a cool, dry place away from direct sunlight to prevent fading and material degradation. Ideally, store them in large boxes or clear bags to protect them from dust and physical damage. For flowers with stems, you might stand them upright in a corner or hang them if possible to prevent petals from being crushed.
📚 Related Giant Flower Guides
- Read Next: Learn more about Giant Paper Flower Templates in our detailed guide on Giant Paper Flower Templates PDF: Craft Breathtaking Blooms.
- Read Next: Learn more about Best Glue For Giant Flowers in our detailed guide on The Best Glue for Giant Flowers: A Comprehensive Guide.