How to Make Giant Foam Flowers: DIY Tutorial
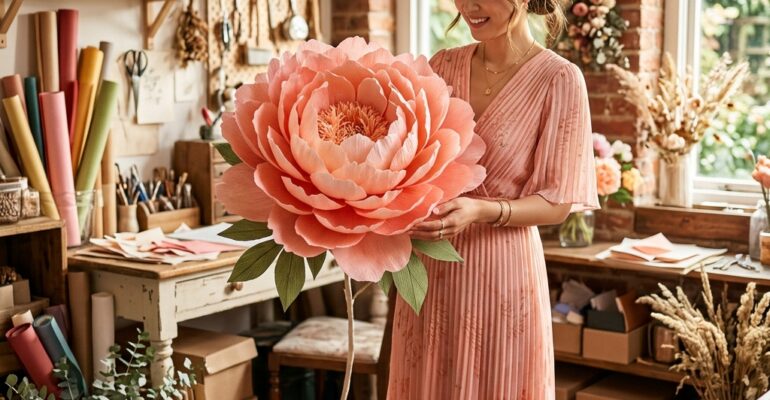

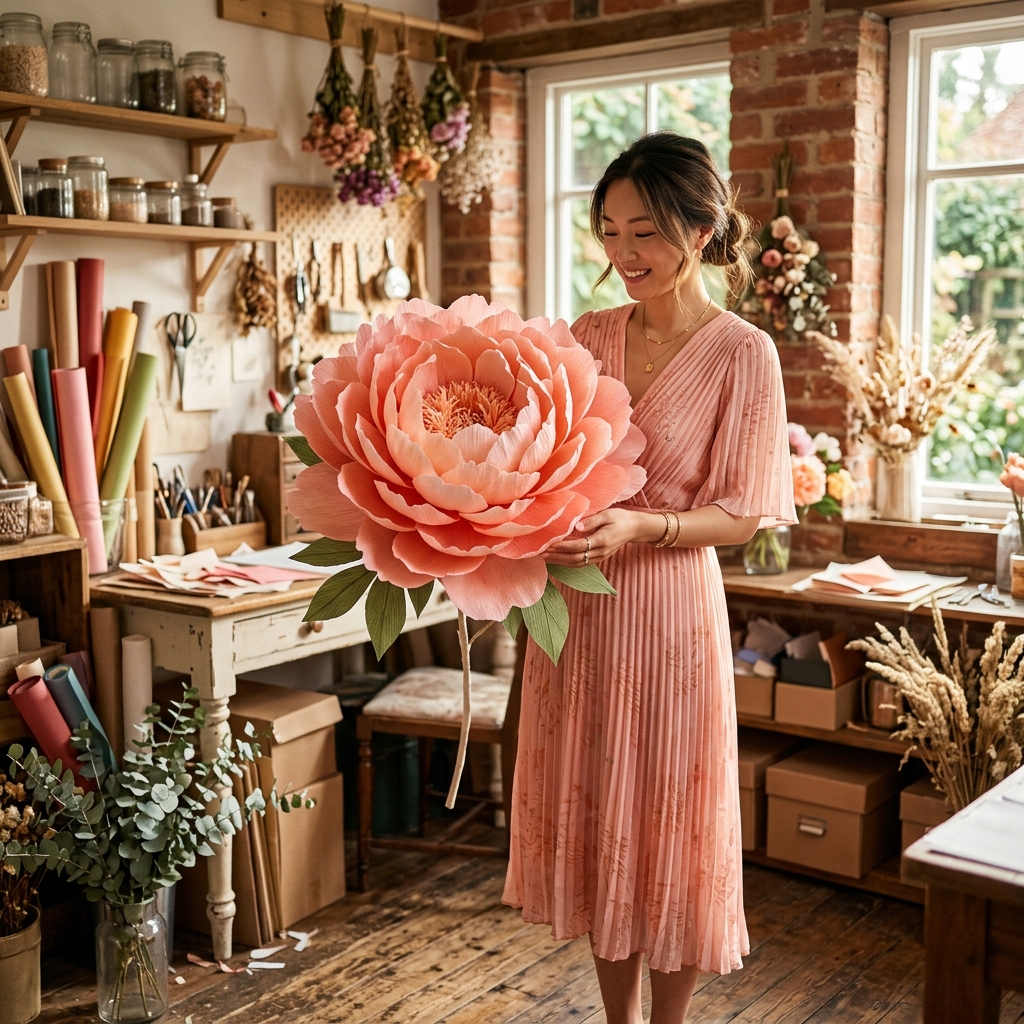
How to Make Giant Foam Flowers: Your Ultimate DIY Guide
Welcome, floral enthusiasts and creative minds! Have you ever dreamt of transforming your space into a whimsical wonderland, adorned with breathtaking blooms larger than life? Giant foam flowers are not just a trend; they are a statement, an art form, and a surprisingly accessible DIY project that can elevate any event, photo shoot, or home decor. From enchanting backdrops at weddings to captivating displays in retail windows, these magnificent creations command attention and infuse an undeniable sense of magic. If you’re ready to dive into the vibrant world of crafting your own stunning, durable, and lightweight floral masterpieces, you’ve come to the right place. This comprehensive guide will walk you through every step of how to make giant foam flowers, ensuring your journey from raw material to gorgeous bloom is both enjoyable and successful.
Why Choose Giant Foam Flowers?
The allure of giant foam flowers extends far beyond their impressive size. Unlike their natural counterparts, these artificial beauties offer a multitude of advantages:
- Durability: Made from EVA foam, they are resilient against wear and tear, making them perfect for repeated use at events.
- Longevity: They won’t wilt, fade, or require water, looking fresh and vibrant indefinitely.
- Versatility: Lightweight and easy to transport, they can be used for a vast array of purposes – event decor, home staging, photography props, window displays, and even fashion accessories.
- Customization: Available in a rainbow of colors and easily cut and shaped, the creative possibilities are endless. You can craft any flower type imaginable, from roses and peonies to exotic fantasy blooms.
Gather Your Essentials: Materials and Tools
Before you embark on your floral adventure, ensure you have all the necessary supplies. A well-prepared workspace makes all the difference.
Materials:
- EVA Foam Sheets: The star of the show! Available in various thicknesses (1mm-5mm is common for petals; thicker for bases/stems) and a wide spectrum of colors. Opt for craft foam rolls or large sheets.
- Hot Glue Sticks: You’ll need plenty! Low-temp or high-temp, depending on your preference and the foam thickness.
- Wire or PVC Pipe: For stems, if you plan to make standing flowers. Floral wire for smaller accents.
- Acrylic Paint (Optional): To add shading, details, or alter petal colors.
- Glitter or Embellishments (Optional): For extra sparkle or texture.
- Small Round Objects: Such as Styrofoam balls or even crumpled paper/foil for the flower center.
Tools:
- Sharp Scissors or Craft Knife: Essential for precise cutting. A rotary cutter can also be helpful for long, straight lines.
- Heat Gun or Iron: Crucial for shaping and curling the foam petals. A heat gun offers more control, but an iron on a low setting can also work.
- Hot Glue Gun: To assemble your flower.
- Petal Templates: You can draw your own, find free printable templates online, or purchase specialized giant flower templates.
- Pencil or Marker: For tracing templates onto foam.
- Work Surface Protection: A cutting mat or old cardboard to protect your table.
- Gloves (Optional): To protect your hands from heat gun or hot glue.
Step-by-Step Guide: Crafting Your Giant Foam Flower
Let’s begin the exciting process of bringing your giant foam flower to life!
Step 1: Design and Template Your Petals
The first step is to decide on your flower type and design your petals. Most giant flowers are composed of several sizes of petals, starting smaller in the center and gradually increasing in size towards the outer layers. You’ll typically need 3-5 different petal sizes for a realistic look. Sketch out your desired petal shapes on paper or cardboard. For example, a rose might have heart-shaped or teardrop petals, while a daisy would have long, slender petals. Once satisfied, cut out your paper templates.
Step 2: Trace and Cut Your Foam Petals
Lay your EVA foam sheets flat. Place your largest petal template on the foam, trace around it with a pencil or marker, and then cut it out. Repeat this process, creating several petals of each size. The number of petals required will vary based on the flower’s fullness you desire, but a good starting point is 8-12 petals for each size layer. Ensure your scissors or craft knife are sharp for clean, smooth edges.
Step 3: Master the Art of Shaping Petals with Heat
This is where the magic happens! Heating the EVA foam makes it pliable and allows you to mold it into realistic, curved shapes.
- Using a Heat Gun: Hold a petal (carefully!) about 6-8 inches away from the heat gun, moving the gun continuously to heat the foam evenly. You’ll see the foam start to soften and curl slightly.
- Shaping: Once pliable, gently stretch, cup, or curl the edges of the petal with your fingers. For example, you can cup the base of a petal to make it convex or stretch the top edge outwards for a natural curl. Experiment with different techniques to achieve various textures and forms. Be careful not to overheat or hold the gun too close, as this can melt or burn the foam.
- Using an Iron: Place a thin cloth over your foam petal and gently press with a warm (not hot!) iron. As the foam softens, quickly shape it with your hands.
Shape all your cut petals, setting them aside to cool and retain their new form.
Step 4: Create the Flower Center
The center of your flower provides its core structure and often adds a beautiful focal point.
- Basic Center: Take a small piece of foam or a Styrofoam ball and cover it with smaller, tightly rolled foam petals or a fringed foam strip.
- Stamens: For flowers like poppies or lilies, cut thin strips of foam and fringe one edge. Roll these strips around a small foam core or directly onto the base.
- Pistil: Create a larger, central element by shaping a thicker piece of foam.
Secure all elements of your center with hot glue.
Step 5: Assemble Your Giant Foam Flower
Now, bring all your shaped petals together.
- Start with the Center: Take your prepared flower center.
- Innermost Petals: Begin attaching the smallest petals around the base of your center using hot glue. Overlap them slightly, ensuring they cup around the center.
- Layering: Continue adding progressively larger petals, gluing them slightly below and overlapping the previous layer. Stagger the petals so they fill the gaps between the petals in the layer beneath. This creates a fuller, more natural look.
- Outer Layers: Work your way outwards, attaching the largest petals to form the outermost circumference of your flower. Pay attention to how the petals flow and arrange them for the most aesthetically pleasing result.
Stand back frequently to assess the shape and fullness of your flower, adjusting as needed.
Step 6: Add Finishing Touches (Optional)
Elevate your flower with these optional steps:
- Leaves and Stems: Cut out foam leaves, shape them with heat, and attach them to the base of your flower. For a standing flower, hot glue the finished bloom to a PVC pipe or sturdy wooden dowel, which can then be wrapped in green foam or ribbon.
- Coloring and Shading: Use acrylic paints to add subtle shading to the tips or bases of petals for a more realistic gradient.
- Glitter and Embellishments: A touch of glitter glue along the edges or small pearl beads in the center can add a magical sparkle.
Tips for Success
- Practice Petal Shaping: It takes a little practice to get the hang of shaping foam with heat. Don’t be afraid to experiment on scrap pieces.
- Use Good Templates: Well-designed templates are half the battle. Invest time in creating or finding suitable ones.
- Work in Layers: Assembling your flower layer by layer ensures a strong, cohesive structure.
- Hot Glue Wisely: A little hot glue goes a long way. Use enough to secure, but avoid excessive amounts that can look messy.
- Safety First: Be cautious when using heat guns and hot glue. Work in a well-ventilated area.
Maintenance and Storage
Giant foam flowers are remarkably easy to care for. To clean them, simply dust with a soft cloth or use a damp cloth for stubborn marks. For long-term storage, keep them in a cool, dry place away from direct sunlight to prevent fading. Large cardboard boxes or garment bags work well to protect them from dust and damage.
Unleash Your Creativity!
The beauty of crafting giant foam flowers lies in the endless possibilities for customization. Don’t be afraid to experiment with different flower types, color combinations, and embellishments. Mix and match petal styles, create fantastical blossoms, or even incorporate lighting elements for an ethereal glow. Once you master the basic techniques, your imagination is the only limit.
Making giant foam flowers is a rewarding and impressive craft. With a little patience and creativity, you can transform simple foam sheets into magnificent floral sculptures that will captivate and inspire. So, gather your materials, clear your workspace, and prepare to bring a touch of grand beauty into the world!
Frequently Asked Questions (FAQ)
Q1: What type of foam is best for making giant flowers?
A1: EVA foam (Ethylene-vinyl acetate foam) is the ideal choice. It’s lightweight, flexible, durable, and most importantly, it can be easily shaped with heat. It’s commonly found in craft stores, online, or even as puzzle mats for children (though ensure it’s non-toxic for craft use).
Q2: Can I paint my giant foam flowers?
A2: Yes, absolutely! Acrylic paints work wonderfully on EVA foam. You can use them to add subtle shading, create gradients, or even completely change the color of your petals. Always test a small, inconspicuous area first to ensure the paint adheres well and achieves your desired look.
Q3: How do I make my giant foam flowers stand upright?
A3: For standing flowers, you’ll need a sturdy base. PVC pipes, wooden dowels, or metal rods are excellent choices for stems. You can glue the finished flower directly onto the top of the stem. To make it stand freely, attach the base of the stem to a weighted stand, a bucket filled with sand or concrete, or a sturdy wooden base.
Q4: How long does it take to make one giant foam flower?
A4: The time commitment varies greatly depending on the size and complexity of the flower, as well as your experience level. A simple, medium-sized flower might take 2-4 hours for a beginner, while a very large, intricate bloom could take 6-8 hours or more. Don’t rush the process; enjoy each step!
📚 Related Giant Flower Guides
- Read Next: Learn more about Giant Paper Flower Templates in our detailed guide on Crafting Wonders: Giant Paper Flower Templates PDF Guide.
- Read Next: Learn more about Best Glue Giant Flowers in our detailed guide on Best Glue for Giant Flowers: The Ultimate Adhesive Guide.