How to Make Giant Flowers with Cardstock: The Complete Method

How to Make Giant Flowers with Cardstock: The Complete Method
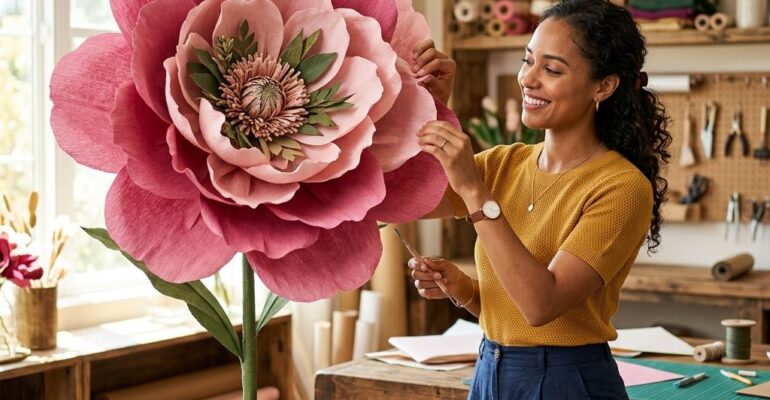
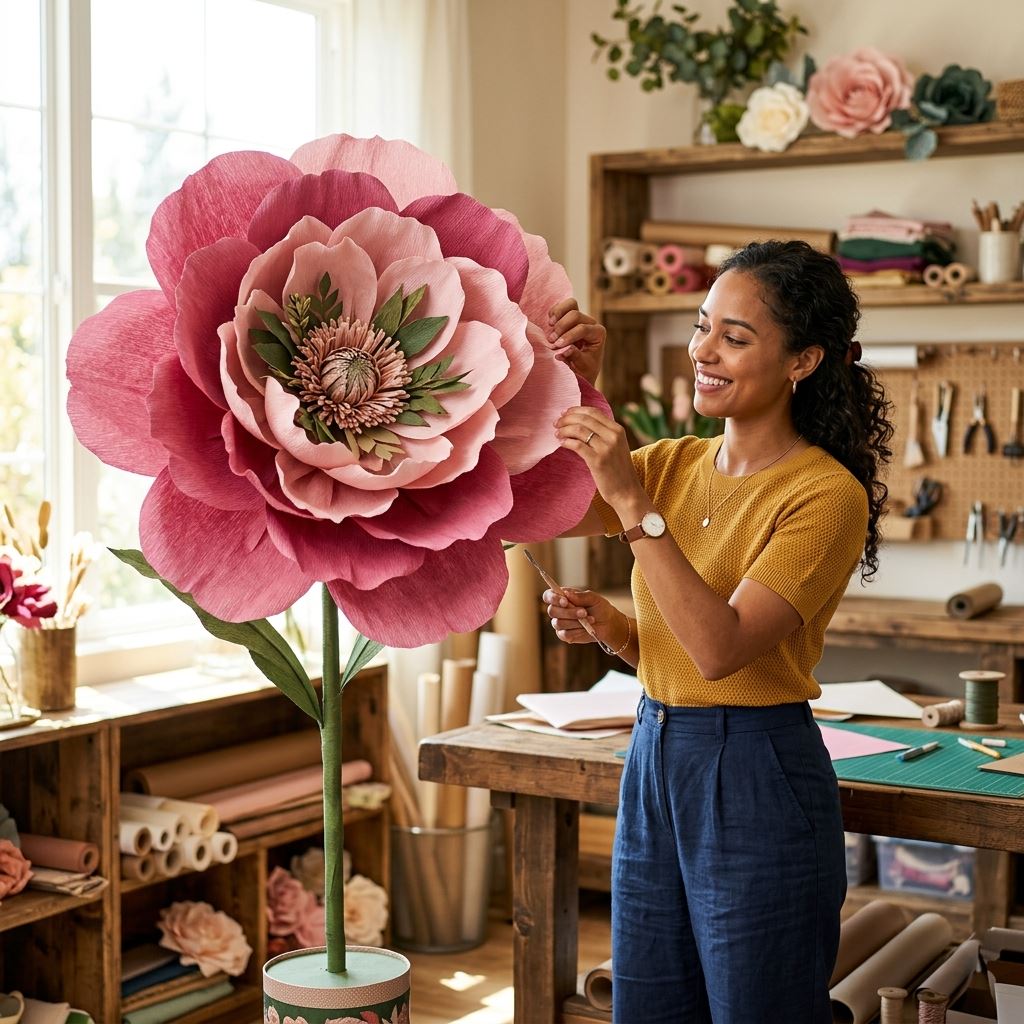
Cardstock is the workhorse material of the giant flower industry. It is affordable, widely available, holds its shape under its own weight, and accepts color beautifully. If you have been wondering how to make giant flowers with cardstock that look polished, professional, and absolutely stunning, this comprehensive method will take you from a blank sheet to a completed showpiece bloom.
Unlike tissue paper or crepe, cardstock gives you structural integrity. A properly built cardstock bloom can stand freestanding on a shelf, survive a full day at an outdoor event, and be stored flat for reuse at future occasions. It is the perfect entry point for beginners and the daily bread-and-butter for professional event decorators.
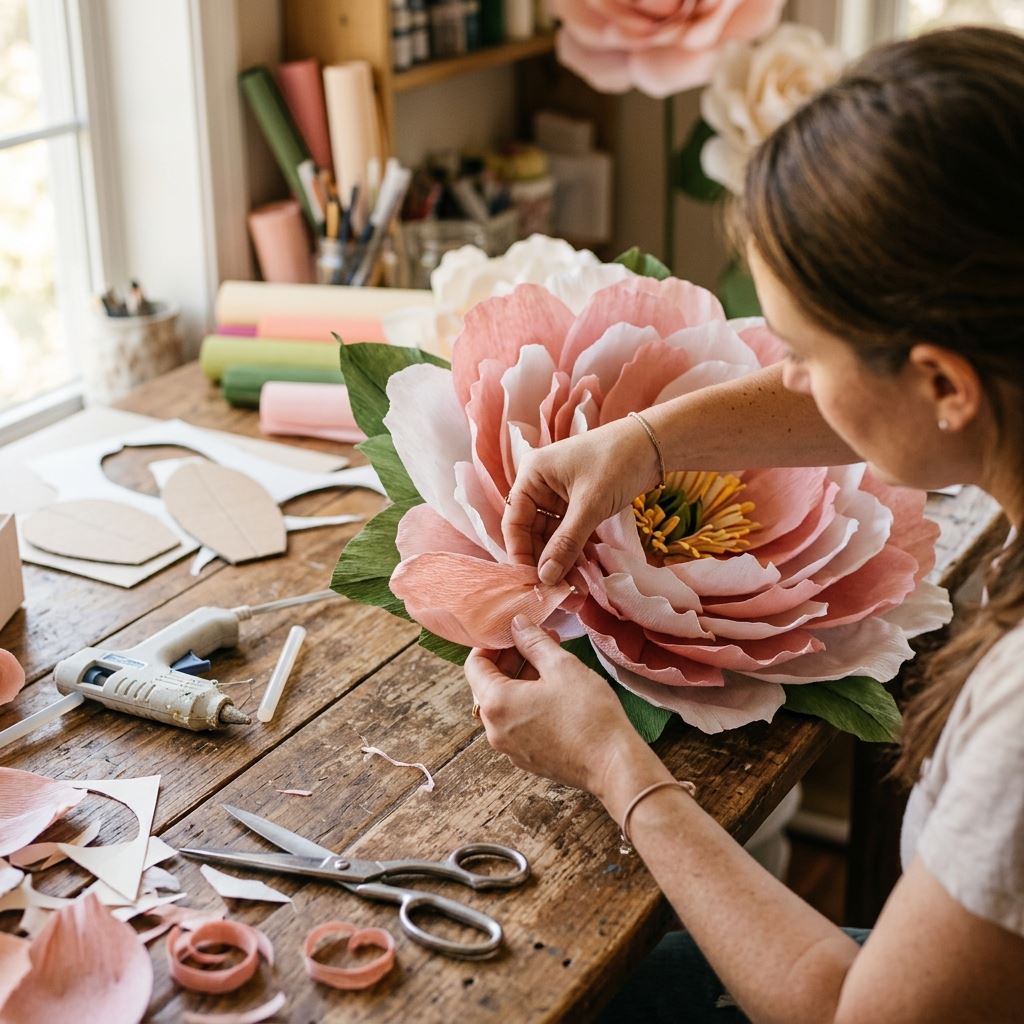
Selecting the Right Cardstock
The weight of your cardstock directly determines the structural quality of your finished bloom.
The Sweet Spot: 65 lb Cover Stock
This is the universally recommended weight for giant paper flowers. It is heavy enough to hold a curl without flopping, but light enough to fold, shape, and glue easily by hand. Most craft stores carry 65 lb cardstock in hundreds of colors, including metallics, glitters, and textured finishes.
When to Go Heavier: 80 lb and Above
For freestanding flowers that need to support their own weight without a backing structure, or for outdoor installations where wind resistance is a factor, upgrade to 80 lb cardstock. Be aware that heavier stock requires stronger adhesive and more aggressive curling pressure, so adjust your technique accordingly.
Avoid Copy Paper and Thin Card
Standard 20 lb copy paper and thin card below 50 lb will never produce professional results at giant scale. The petals will droop, curl unpredictably, and look visibly flimsy. Do not waste your time.
Step-by-Step Construction
Step 1: Cut Your Petals
Using a professional template, cut five petal sizes: extra-small (8 pieces), small (8 pieces), medium (6 pieces), large (6 pieces), and extra-large (5 pieces). Cutting precision matters enormously. If your edges are ragged or uneven, the finished bloom will look amateurish regardless of your assembly skill.
Step 2: Shape and Curl
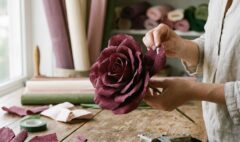
Take each cut petal and run the flat edge of a closed scissors blade along the outer edge while pressing the paper against your thumb. This creates the signature backward curl. For the center cup, flip the petal over and use a large round object like a softball or rolling pin to press a gentle concave shape into the lower half. This cupping gives each petal its three-dimensional depth.
Step 3: Build the Center
Roll one extra-small petal into a tight cone and secure with glue. This is the heart of your flower. Wrap the remaining extra-small petals around this cone, each one slightly more open than the last, gluing at the base only. Allow the tops to fan out naturally.
Step 4: Layer Outward
Attach the small petals around the center, offsetting each one so it sits between the gaps of the previous layer. Continue with medium, large, and extra-large petals, maintaining this staggered offset pattern. Increase the backward curl intensity with each layer so the outermost petals are dramatically swept back.
Step 5: Create the Base
Cut a circle of cardstock roughly 6 inches in diameter. Glue this to the back of your completed bloom. This base disc provides a clean mounting surface and structural reinforcement.
Frequently Asked Questions (FAQ)
1. What is the absolute best cardstock weight for beginners learning how to make giant flowers with cardstock?
For beginners, 65 lb (approx. 176 gsm) cover stock is universally recognized as the best starting point. It strikes the perfect balance between being sturdy enough to hold structural, three-dimensional curls without collapsing, yet pliable enough that it won’t severely fatigue your hands during the cutting and shaping process. If you jump straight to heavier 80 lb or 100 lb papers before mastering the curling technique, you may end up with harsh, angular creases instead of the smooth, organic curves necessary for realistic petals.
2. How do I curl heavy cardstock without accidentally creasing or tearing the petals?
The secret to smooth curves lies in the tool and the technique. Avoid using tools with sharp, narrow edges. Instead, use a smooth, rounded object like a thick wooden dowel, a large marker barrel, or a bone folder. Place the petal against the tool, press your thumb firmly on the paper, and pull the paper across the tool’s surface in one smooth, continuous motion. If the cardstock feels too stiff and threatens to crease, you can lightly mist the back of the petal with a tiny amount of water to temporarily soften the fibers before curling.
3. Can cardstock flowers be made weather-resistant for outdoor events?
While cardstock is inherently vulnerable to moisture, you can take steps to weatherize your creations for short-term outdoor use. Once your bloom is fully assembled, spray it with two to three light coats of a clear, matte acrylic sealer (such as Krylon or Mod Podge acrylic spray). This creates a thin waterproof barrier that protects the paper from high humidity and light mist. However, even treated cardstock will not survive heavy rain, so always have a backup indoor location planned for outdoor installations.
Master this exact method with our video-guided tutorials and precision templates. Everything you need to learn how to make giant flowers with cardstock like a professional is available at our [Giant Flower Masterclasses](https://giantflowersvietnam.com/courses).
📚 Related Giant Flower Guides
- Read Next: Learn more about Giant Flower Photo Booth in our detailed guide on Giant Flower Photo Booth: The Most Profitable Rental Business.
- Read Next: Learn more about Giant Sunflower Template in our detailed guide on Giant Sunflower Template: Craft the Ultimate Summer Bloom.