Giant Flower Anatomy: Understanding Petals, Centers, and Bases

—
Focus Keyword: giant flower anatomy
Meta Description: Want to build perfect blooms? Understand giant flower anatomy, from staggering delicate petals to securing rigid cardboard bases for your events. Read now!
—
Giant Flower Anatomy: Understanding Petals, Centers, and Bases
If you’ve ever looked at a professional 3-meter floral wall and wondered, “How does that even stay together?” you aren’t alone. To the untrained eye, a giant flower looks like a chaotic explosion of paper. But to a master artist, it is a highly organized piece of architecture.
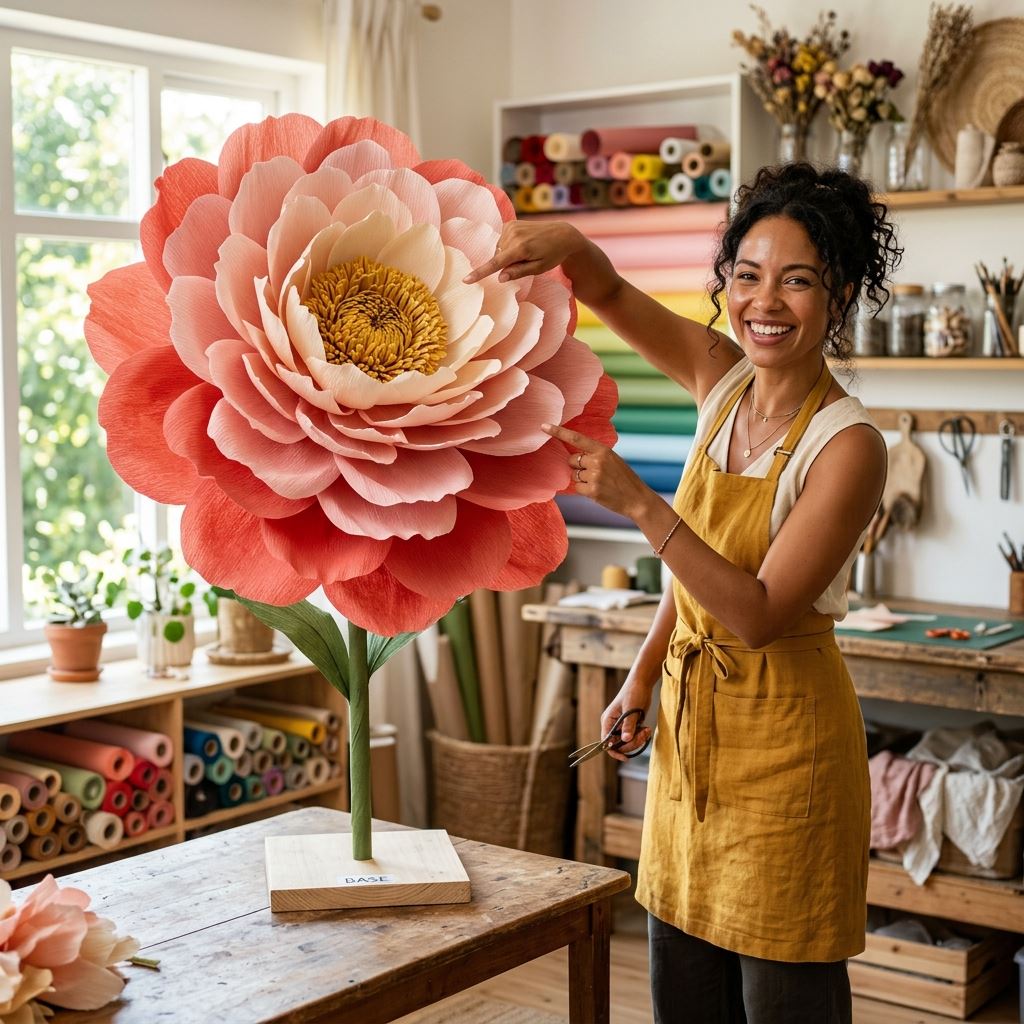
Think of a giant flower like a building. You have the Foundation (the base), the Skeleton (the petal structure), and the Interior Design (the center). If any of these parts are weak, the whole structure fails.
Whether you are following a giant flower tutorial for the first time or you are a seasoned pro, understanding the “anatomy” of your bloom is the difference between a flower that looks “home-made” and one that looks “artisan-crafted.” Let’s break it down.
1. The Petals (The Skeleton and Facade)
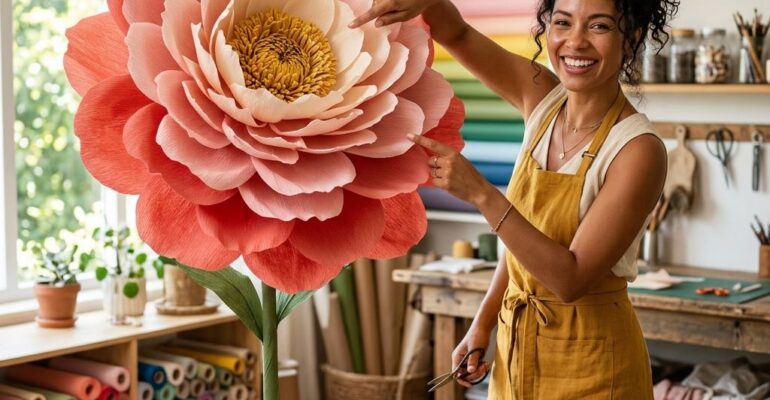
Petals are the most visible part of the anatomy, but they do more than just look pretty. They provide the volume and shape of the flower.
* Outer Petals (The Anchors): These are your largest petals. They define the diameter of the flower. They must be glued at a shallow angle to create a wide “bloom.”
* Middle Petals (The Body): These layers build the “fullness.” This is where you use the “staggering” technique (placing a petal between two petals of the previous layer) to hide the gaps.
* Inner Petals (The Heart): These are the smallest petals. They are glued at a much steeper angle to create the look of a flower that is still opening.
* Mechanical Tip: In any good giant flower tutorial, you will see a slit at the bottom of the petal. Overlapping this slit creates the “cup” shape. The more you overlap, the more the petal stands up.
2. The Centers (The Soul of the Flower)
The center is the focal point. It draws the eye in. Without a great center, even the most beautiful petals look unfinished.
* Fringed Centers: The most common type. Created by taking a long strip of paper, cutting tiny “hairs” into it, and rolling it up. It’s perfect for Sunflowers or Daisies.
* Pom-Pom Centers: These involve layers of “spiky” or rounded shapes stacked on top of each other. They give a lush, Victorian feel to roses.
* 3D Sculpted Centers: For more advanced artists, the center might be a hand-sculpted piece of foam or a complex origami-style fold that mimics the biological center of a Lily or an Orchid.
—
Build Better with Giant Flowers Vietnam…
Do you struggle with making your flowers look symmetrical? It usually comes down to not understanding the spacing between the anatomy parts. At Giant Flowers Vietnam, we don’t just give you a petal shape and say “good luck.” Our courses go deep into the “Anatomy of Beauty.” We provide clear, numbered assembly maps for every design. You’ll know exactly where “Petal A” meets “Base B.” We take the mystery out of construction so you can focus on the artistry. With our PDF templates, you are building on a foundation of professional expertise.
—
3. The Base (The Foundation)
The base is the “unsung hero.” You don’t see it, but it’s doing all the hard work.
* The Material: Usually a circle of heavy-duty cardboard or Formex. It needs to be rigid enough to not warp under the weight of the glue and paper.
* The Diameter: A common mistake is using a base that is too small. A 60cm flower needs a 15-20cm base. If the base is too small, the outer petals won’t have enough “real estate” to bond to, and the flower will be unstable.
* The Attachment Point: If you are hanging your flower, the wire or hook must be attached to the base before you add the petals. This ensures the weight is distributed through the cardboard foundation, not pulling on the delicate paper petals.
4. The “Assembly Logic”
Now that you know the parts, how do they interact?
A professional giant flower tutorial follows a logical sequence:
1. Prep the Base: Install your hanging mechanism.
2. Petal Prep: Curl and cup all petals before you ever touch the glue gun.
3. Layer 1 (Outer): Glue the largest petals to the very edge of the base.
4. The Stagger: For Layer 2, place the petals so they sit in the “windows” between the petals of Layer 1.
5. The Rise: As you move inward, move the petals closer to the center of the base and increase their upright angle.
6. The Seal: Add the center last to hide all the messy petal roots.
📚 Related Giant Flower Guides
- Read Next: Learn more about How To Resize Pdf Giant Flower Templates Perfectly Every Time in our detailed guide on How to Resize PDF Giant Flower Templates Perfectly Every Time.
- Read Next: Learn more about 3 Easy Giant Flower Designs Perfect For Absolute Beginners in our detailed guide on 3 Easy Giant Flower Designs Perfect for Absolute Beginners.
Summary
Understanding anatomy allows you to troubleshoot your designs. If your flower looks flat, you need to overlap your petal slits more. If it looks “gappy,” you need better staggering.
Frequently Asked Questions (FAQ)
1. Why is the base of a giant paper flower considered the most critical structural component?
The base serves as the foundational anchor for the entire giant flower. It bears the accumulated weight of the cardstock, the tension of curled petals, and the hot glue used in assembly. Using a base that is too small or made from flimsy material will cause the outer petals to droop and can lead to structural failure when mounted. A sturdy, appropriately sized base (typically made of rigid cardboard or Formex) ensures longevity and stability for professional displays.
2. How does the “staggering” technique improve the realistic appearance of giant petals?
Staggering involves positioning the petals of each new layer in the spaces or “windows” between the petals of the preceding layer, rather than stacking them directly on top of one another. This mimics the natural, overlapping growth patterns found in real botanicals. Mechanically, staggering provides better volume, hides any underlying gaps or structural mechanics, and gives the final giant flower a lush, organic, and professionally full appearance.
3. What is the best method to ensure my outer petals do not droop when attached to the base?
Preventing petal droop starts with a solid mechanical connection. When attaching your largest outer petals, apply a generous, V-shaped application of high-temperature hot glue to the root of the petal. Press it firmly against the base and hold it securely for at least ten seconds, allowing the glue to transition completely from a liquid to a solid state. Additionally, overlapping the base slit deeply creates a steeper “cup” shape that naturally resists gravity and sagging.
4. Why is it important to attach hanging mechanisms before gluing any petals?
Installing your wire loop, D-ring, or hook to the base before petal assembly is crucial for weight distribution. If you attempt to add a hanger after the flower is complete, you risk crushing the delicate paper structure. More importantly, attaching the mechanism directly to the naked base ensures that the hanging tension pulls on the rigid cardboard or Formex foundation rather than placing undue stress on the glued paper joints, preventing the flower from tearing under its own weight.
Are you ready to stop guessing and start building with precision? Explore the world’s largest library of flower courses at Giant Flowers Vietnam and learn the anatomy of a masterpiece today!
[Link to Course/Template]