
Giant Dahlia Paper Flower Tutorial: Master the Spiky Bloom



Giant Dahlia Paper Flower Tutorial: Master the Spiky Bloom
When it comes to visual drama, no paper flower beats the dahlia. Its tightly packed, perfectly geometric layers of pointed petals create a hypnotic, almost mathematical beauty that stops people in their tracks. While the classic rose dominates beginner tutorials, the dahlia is the bloom that separates hobbyists from serious artisans. This giant dahlia paper flower tutorial will walk you through the unique rolled-cone technique that produces stunning results every single time.
The dahlia’s secret is repetition with precision. Unlike a loose, organic peony where slight variations add charm, the dahlia demands consistency. Every petal must be rolled to the same tightness, angled at the same pitch, and layered in the same systematic pattern. Sound intimidating? It is actually incredibly therapeutic once you find your rhythm.

The Rolled Cone Technique
The fundamental building block of a dahlia is not a flat petal. It is a tiny cone.
Cutting the Squares
For a giant dahlia measuring 20 to 24 inches in diameter, you will need approximately 60 to 80 squares of cardstock in four graduated sizes: 4 inch (20 pieces for the center), 3.5 inch (20 pieces for the inner ring), 3 inch (20 pieces for the middle ring), and 2.5 inch (20 pieces for the outer ring). Yes, this is a lot of pieces. The dahlia is not a quick build. But the payoff is extraordinary.
Rolling Each Cone
Take one square and roll it into a tight cone shape, like a miniature ice cream cone. The point of the cone should be sharp and tight, while the open end flares out slightly. Apply a thin line of glue along the edge and press to hold the cone shape. Consistency is everything here. Use a pencil or thin dowel as a guide to ensure every cone is rolled to the same diameter.
Building the Center
Start with a flat cardstock disc approximately 6 inches in diameter. This is your foundation. Begin gluing the smallest cones in a tight circle around the center of the disc, with all cone points facing straight up. Each cone should touch its neighbor snugly with no gaps. Complete the full center ring.
Layering Outward
Add the next ring of slightly larger cones around the first, angling them outward at approximately 30 degrees from vertical. Continue with the third ring at 45 degrees, and the outermost ring at nearly 60 degrees. This graduated angle is what creates the dahlia’s signature domed, spherical profile.
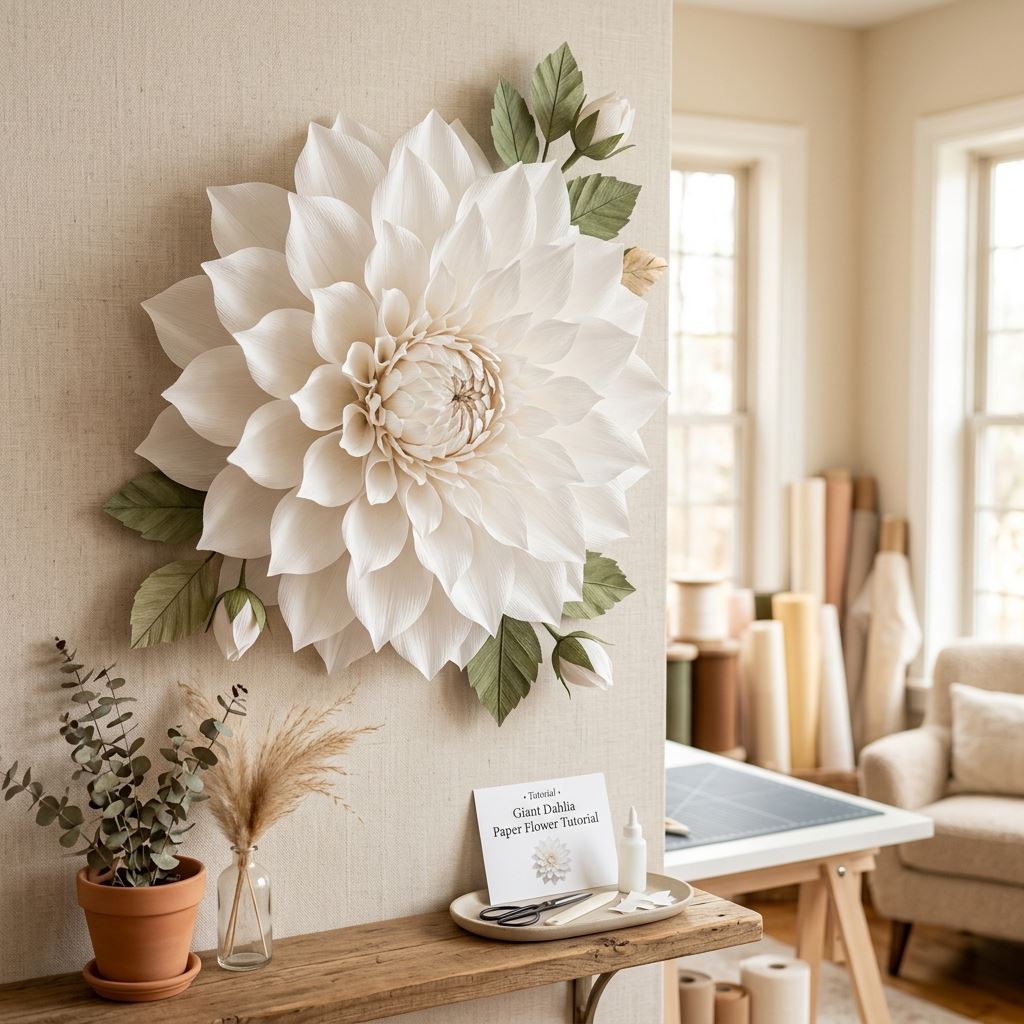
Color Strategies for Maximum Impact
Dahlias in nature come in an extraordinary range of colors, giving you creative freedom that few other flowers allow.
Monochromatic Gradient: Use four shades of the same color, darkest in the center and lightest on the outer ring. A deep burgundy center fading to soft blush at the edges is absolutely breathtaking.
Bold Bicolor: Alternate two contrasting colors in every other ring. Purple and gold, coral and ivory, or black and red create dramatic, high-fashion impact perfect for luxury events.
Ombre Effect: Gradually blend from one color family to another across all four rings. Sunset orange transitioning to hot pink is a crowd favorite for summer events.
Finishing and Display
Once all cones are glued, add a final ring of flat, slightly curled leaf-shaped petals behind the outermost cone ring. These peaking petals frame the entire bloom and give it a finished, botanical-garden quality.
Frequently Asked Questions (FAQ)
1. What is the most time-consuming part of making a giant paper dahlia?
The most time-consuming aspect of any giant dahlia paper flower tutorial is unquestionably the rolling of the individual cone petals. Because a single large dahlia requires between 60 and 80 separate cones, the repetitive process of rolling, gluing, and holding each cone until it sets can take several hours. However, once all the cones are prepared, the actual assembly of the flower onto the base disc is surprisingly fast and deeply satisfying. We recommend breaking the project into two phases: a “prep phase” where you cut and roll all cones while watching a movie, and an “assembly phase” the following day.
2. Can I use a cutting machine like a Cricut to speed up the dahlia process?
Yes, utilizing an electronic cutting machine like a Cricut or Silhouette drastically speeds up the initial cutting phase. Because a dahlia relies entirely on perfect squares or slightly tapered geometric shapes, you can easily load a cutting mat with 12 to 20 shapes at a time. The machine will ensure that every single square is exactly the same size, which is critical for achieving the dahlia’s signature mathematical precision. Unfortunately, the machine cannot roll the cones for you—that step remains a test of your manual crafting dedication!
3. How do I fix a dahlia cone that has been crushed or flattened during transport?
Because the cones stick out aggressively, they are highly prone to being crushed if bumped. If a cone gets flattened, you can often save it by gently inserting the smooth, rounded end of a pen or a thin dowel directly into the crushed cone. Press outward from the inside while applying a tiny bit of heat from a hairdryer on a low setting. This warms the paper fibers and allows you to reshape the cone without tearing it. If the crease is too sharp to remove, simply use a craft knife to cut out the damaged cone at the base and glue a fresh replacement cone into the gap.
Build your most impressive bloom yet. Get the complete giant dahlia paper flower tutorial with video guidance and cutting files at our [Giant Flower Masterclasses](https://giantflowersvietnam.com/courses).
📚 Related Giant Flower Guides
- Read Next: Learn more about Giant Paper Flower Business in our detailed guide on Giant Paper Flower Business: From Hobby to Six Figures.
- Read Next: Learn more about Giant Flower Decoration in our detailed guide on Giant Flower Decoration for Birthday Party: Stunning Ideas.